How to Create a Professional Invoice Using InvoiceCast
Sending an invoice shouldn't eat up your afternoon — and getting the tax right shouldn't mean a calculator and a spreadsheet. Here's how to create a clean, professional invoice with the GST/HST/QST handled for you, in a few minutes start to finish.
Prefer to watch? The full walkthrough is right here:
Then follow along with the steps below.
1. Add or select your customer
Start by choosing who the invoice is for. If you've billed them before, pick them from your customer list and their details fill in automatically. New client? Add their name, contact details, and address once, and they're saved for next time — so you never re-type the same information.
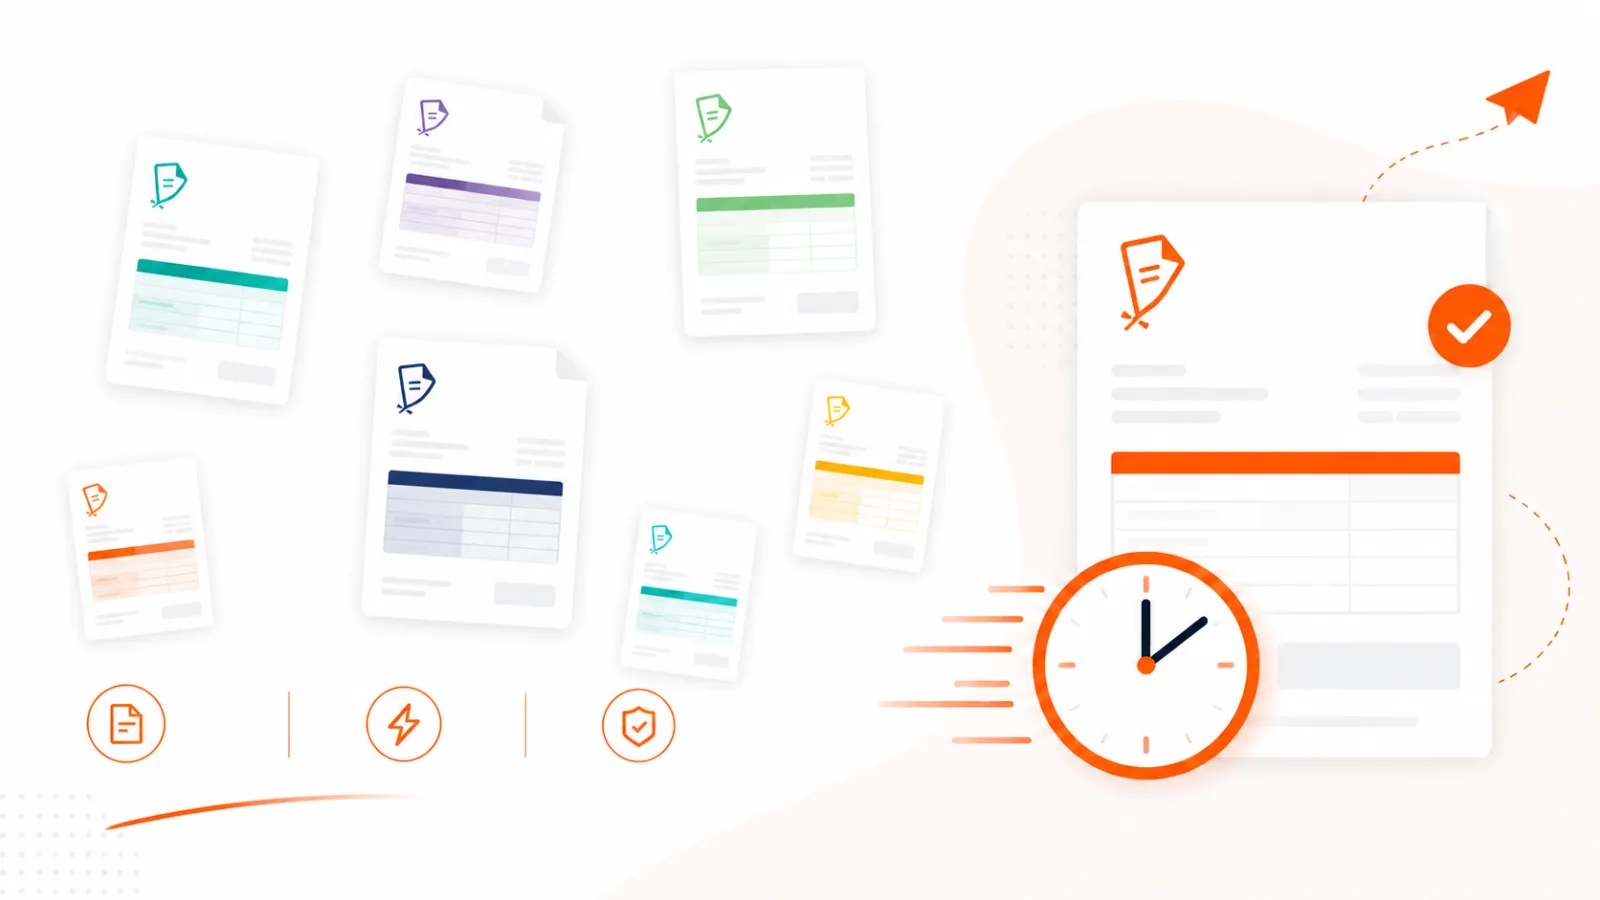
2. Choose a template and colour scheme
Pick an invoice template and a colour scheme that fits your business. This is what makes the invoice feel like yours rather than a generic form. A consistent look across every invoice quietly signals that you take your business seriously.
3. Set your currency and tax options
Choose your currency, then set your tax options. This is where InvoiceCast earns its keep for Canadian businesses: it applies GST, HST, or QST at the right rate and calculates it for you — so you don't have to track which rate applies when you're billing a client in another province. The total stays correct automatically, and your records line up cleanly when GST/HST filing comes around.
4. Add your line items
Add each product or service as a line item with a description, quantity, and rate. Totals update on their own as you go, so the subtotal, taxes, and grand total are always right. Clear, specific line items ("Homepage redesign — 6 hrs") beat vague ones ("Design work") every time: they answer the client's questions before they ask, and that gets you paid faster.
5. Add discounts, terms, notes, and your branding
Apply any discounts or credits, set your payment terms and due date, and add a note if you need one — a thank-you, payment instructions, or project reference. Drop in your own logo and branding to finish the look.
6. Save, download, print, or send
When it's ready, save the invoice — then download it, print it, or email it to your client directly. Everything happens in one place, so there's no exporting to one tool and sending from another.
That's it. A professional, tax-accurate invoice in a few minutes — and a record kept automatically so you always know who's paid and who hasn't, and you're ready when the CRA or Revenu Québec asks.
Ready to send yours? Try InvoiceCast →